These instructions are for installing the MATE Desktop v.1.2 or v.1.4 on Ubuntu 12.04 running the Unity interface.
Unless otherwise specified, all observations and screenshots are for v.1.2.
Installation instructions may be the same or similar for other versions of Ubuntu or for other Linux distros, but no guarantee is made.
The MATE website provides installation instructions for several different Linux distros (including Ubuntu).
Installing MATE Desktop is very much like going back to the original GNOME 2 desktop that was part of earlier version of Ubuntu.
GNOME 2 is now obsolete and had been replaced by GNOME 3. Not everyone was happy with this (including Canonical). Canonical (the makers of Ubuntu) decided to create a new desktop called Unity.
A developer named Perberos decided to fork GNOME 2 (i.e. create a new independent project based on GNOME 2) and continue development under name MATE.
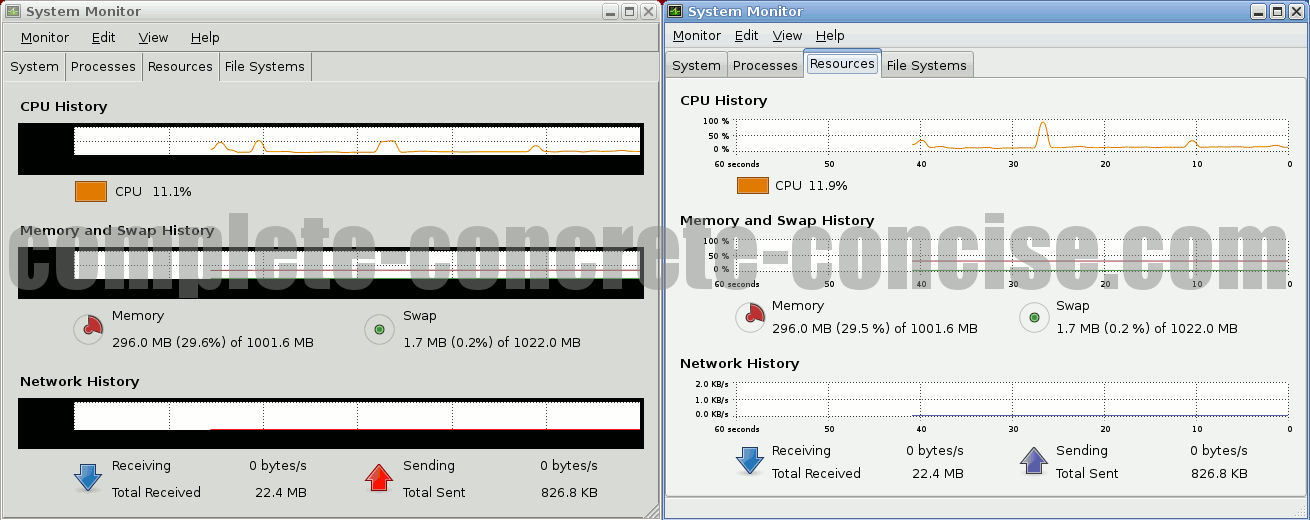
While this is the “traditional” desktop, it has some issues. Some applications, like System Monitor, don’t work properly under MATE, so a MATE compatible version is provided.
Below is a side-by-side comparison of System Monitor shipped with Ubuntu 12.04 (on left) and the replacement System Monitor included with MATE (on right) (click for larger image):
Unlike other desktops which install alternate applications that function the same as existing applications (e.g. Thunar and Nautilus), MATE installs duplicate applications. This can be seen in the screen shot below:
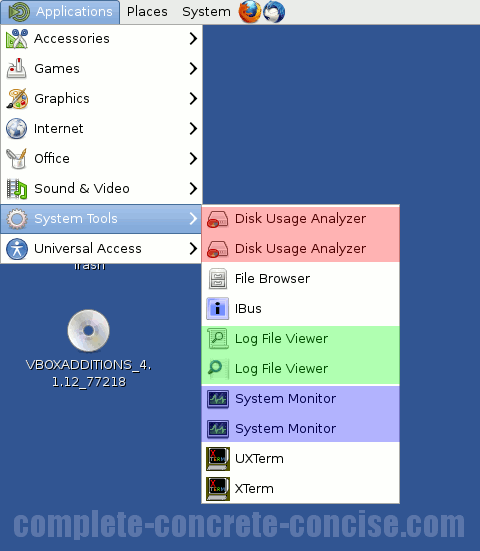
Note the duplicate entries. One is the version installed with Ubuntu 12.04, the other the replacement installed with MATE. The original versions don’t quite work / look right under MATE.
An article listing alternative desktops for Ubuntu 12.04 can be found here.
If you are changing desktops because you are totally lost / confused by Unity, I suggest reading this tutorial and giving Unity a chance.
Of course, if you really hate Unity, then MATE Desktop is an alternative desktop.
MATE Desktop will install 316MB of files and data to your hard disk.
Some images may be clicked for full sized versions.
What it Looks Like
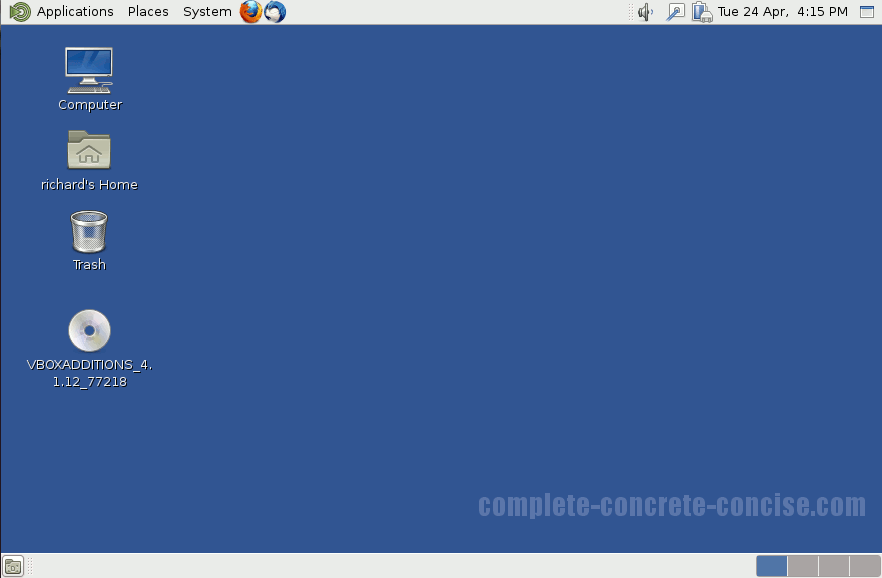
The basic, straight-out-of-the-box, look of the desktop is:
While installing MATE will give you a true classic GNOME 2 desktop, there are potential problems and incompatibilities. Ubuntu 12.04 is built on top of GNOME 3, but with a customized interface Canonical calls Unity.
There is always the possibility that MATE and GNOME 3 may not coexist happily on the same system. One of the bug fixes to MATE was to change file names to avoid clashes with GNOME.
Note: Linux Mint provides MATE as one of their desktop environments. They claim that MATE and GNOME 3 can happily coexist on the same system.
As well, some applications may not look / function properly under MATE. I have not done exhaustive testing, but aside from the few applications MATE installs to replace the equivalent Ubuntu ones, I have not encountered any problems.
Quick Instructions
Open a terminal and enter the following commands:
sudo add-apt-repository "deb http://packages.mate-desktop.org/repo/ubuntu precise main"
sudo apt-get update
sudo apt-get install mate-archive-keyring
sudo apt-get update
sudo apt-get install mate-desktop-environment
Restart your system.
Note: it may be sufficient to simply logout and log back in, but I don’t think it hurts to restart.
Detailed Instructions
Opening a Terminal
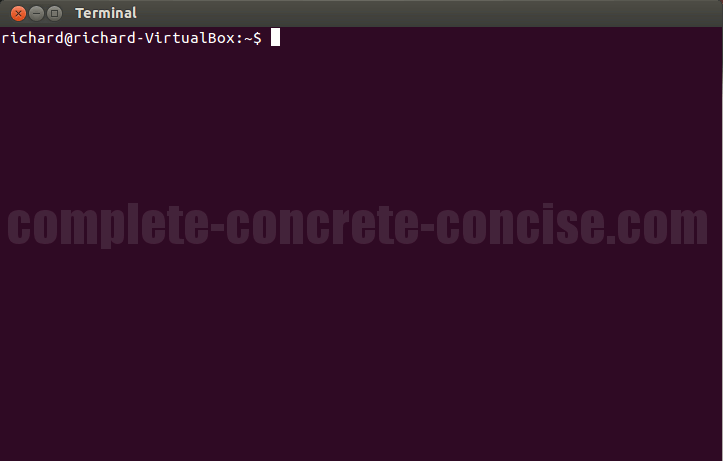
Press Ctrl+Alt+T to open a terminal.
Pressing Ctrl+Alt+T means “While holding down the Ctrl and Alt keys, press the T key as though you intend to type it”. Do not press or hold down the Shift key. It does not matter if the Caps Lock key is on or off.
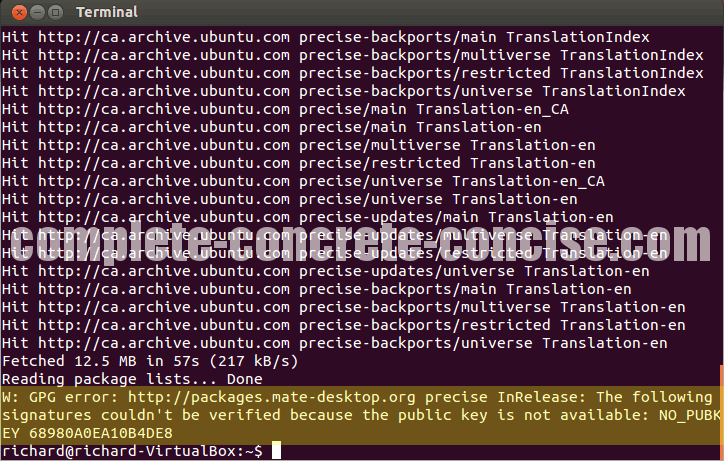
You should now have something that looks like this:
Adding Software Sources
MATE Desktop is not part of the regular software sources used by Ubuntu, so you have to add the sources for MATE.
1) Enter the following line exactly in the terminal:
sudo add-apt-repository "deb http://packages.mate-desktop.org/repo/ubuntu precise main"You can type it or cut and paste it.
To cut and paste the line into the terminal:
1) Select the line and press Ctrl+C.
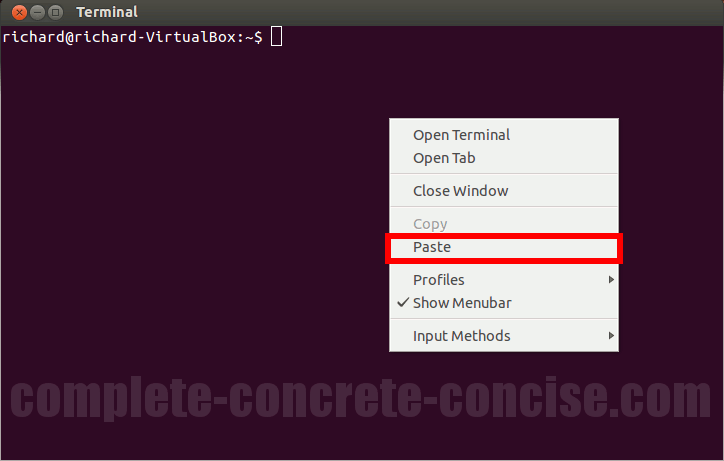
2) Right-click on the terminal. This will pop up a menu. Select Paste from the menu:
Note: the traditional keyboard shortcut Ctrl+V will not work in the terminal.
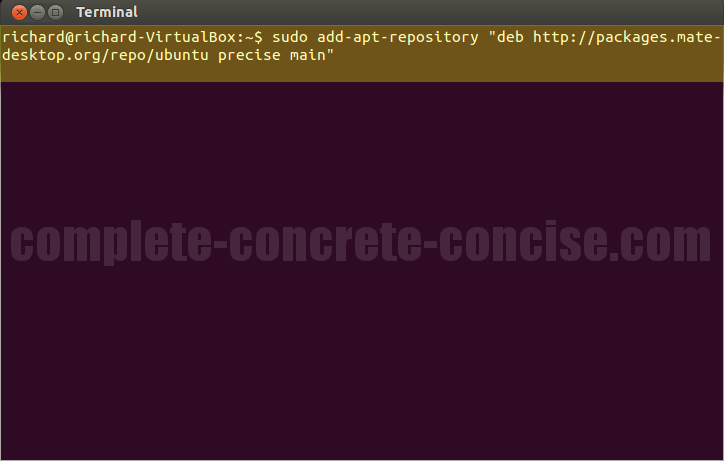
It should look something like this when you are done:
2) Press the Enter key.
3) Enter your password (this is the password you use to log into Ubuntu) and press the Enter key:
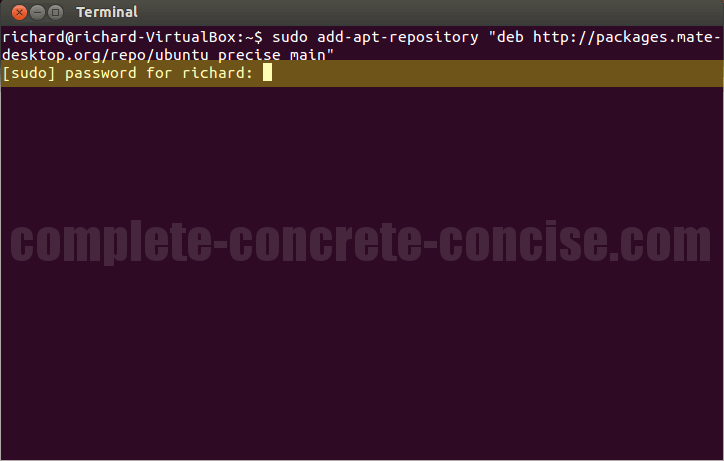
Note: when you type your password, nothing will happen in the terminal. It gives no feedback as the password is typed in. This is normal.
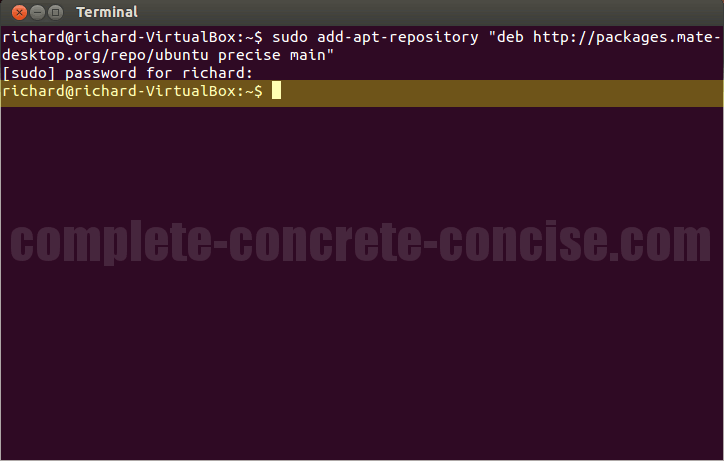
When you are done, it will look like this:
Updating the Software Sources
Before MATE can be installed it is necessary to update the software sources so Ubuntu knows where to fetch the required packages from.
1) Enter the following exactly:
sudo apt-get update2) Press the Enter key.
3) Enter your password and press the Enter key.
Ubuntu will then spend several minutes updating your software sources. The amount of time will depend on the speed of your Internet connection.
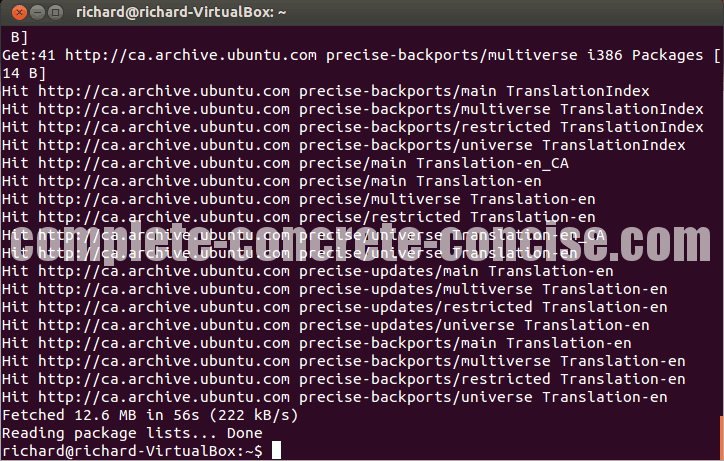
When it is done, it should look something like this (ending with an error):
The error occurs because, for security reasons, Ubuntu requires various software sources to be authorized. The next steps add the necessary authorization.
4) Enter the following exactly:
sudo apt-get install mate-archive-keyring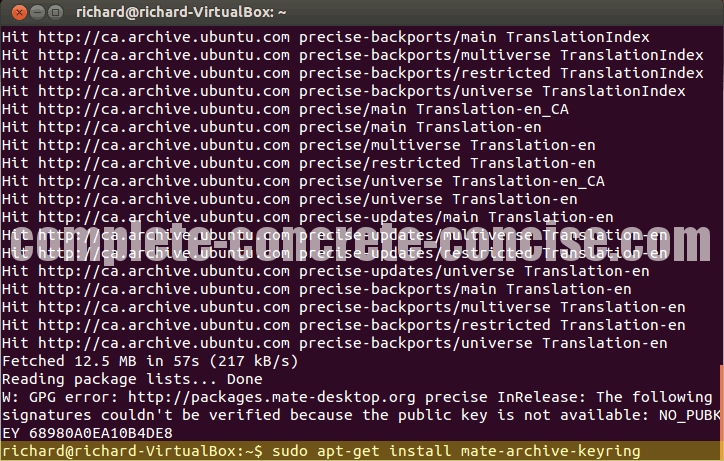
5) Press the Enter key.
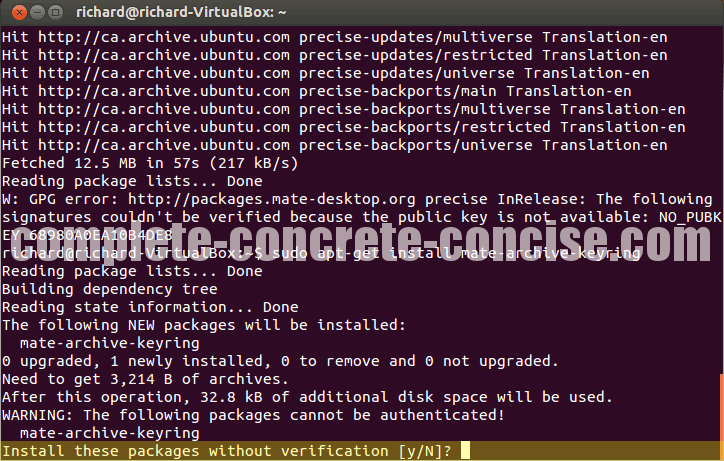
You will be warned about trying to install an unauthenticated package. This is normal.
6) Type y and press the Enter key:
When it is done, it should look something like this:
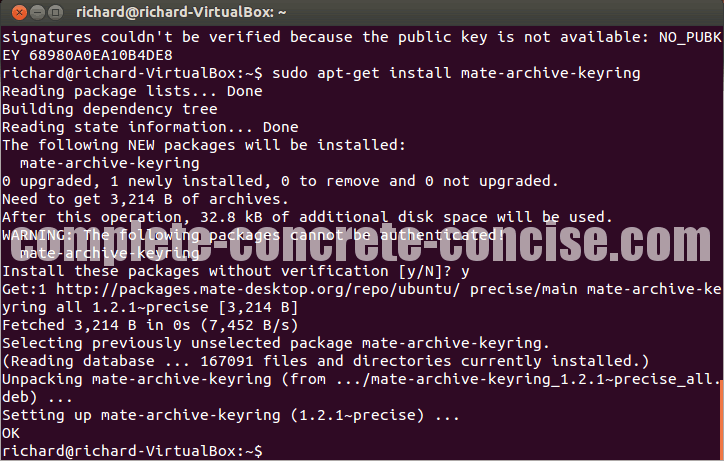
We will need to update the software sources again.
7) Enter the following exactly:
sudo apt-get updateUbuntu will then spend several minutes updating your software sources. The amount of time will depend on the speed of your Internet connection.
When it is done, it should look something like this (without errors):
Installing the MATE Desktop
1) Enter the following exactly:
sudo apt-get install mate-desktop-environment:2) Press the Enter key.
Some text will scroll across the screen showing exactly what is going to be installed. You will be prompted to continue with the installation:
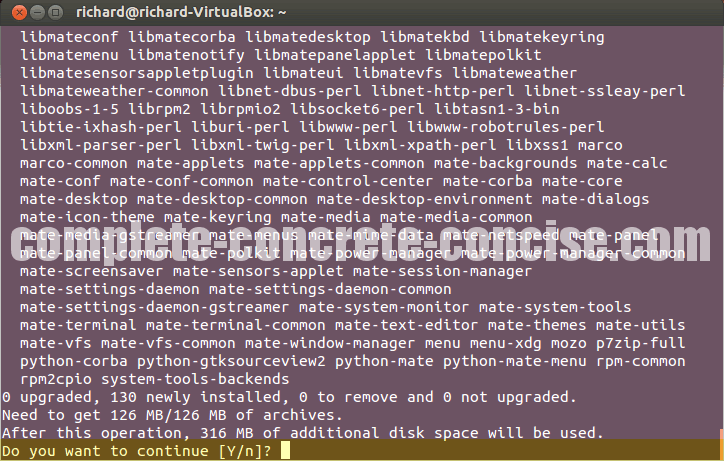
3) Press the Enter key to proceed with installation. (You can also type y followed by Enter.) If you don’t want to install it, then press n followed by the Enter key.
Installation time will depend on your Internet connection speed (how quickly you can download the code) and computer speed (how quickly you can compile everything).
Part way through the installation, you will get this screen:
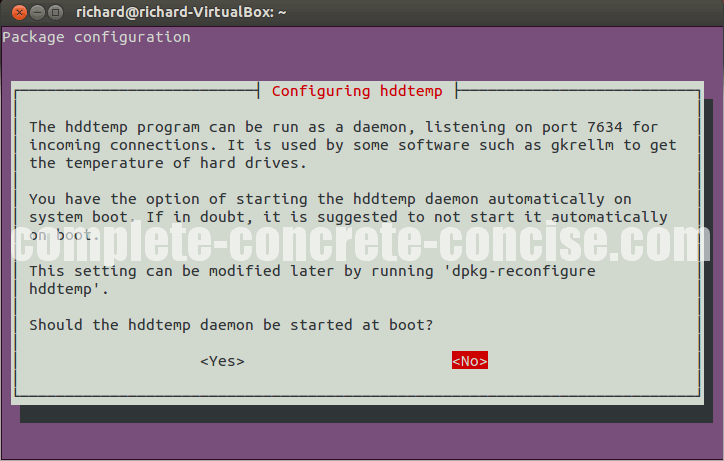
4) Press the Enter key.
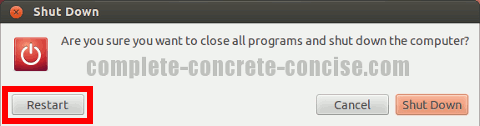
5) After installation is finished, click on the System icon in the upper right corner of the desktop and select Shut Down… from the drop down menu:
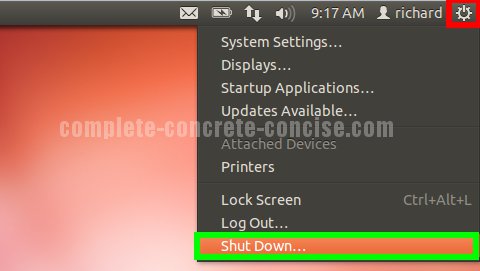
6) Click on Restart:
Selecting the Desktop
After the system has restarted, it is necessary to select the new desktop from the login screen.
It is only necessary to select the desktop the first time after installation. Ubuntu will remember your your desktop for future logins.
You can even install multiple desktops and switch between them. Although, I am not sure if MATE and GNOME can exist happily together on the same system.
1) Click the icon in the top right of the Login box:
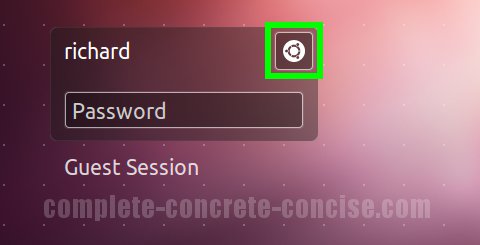
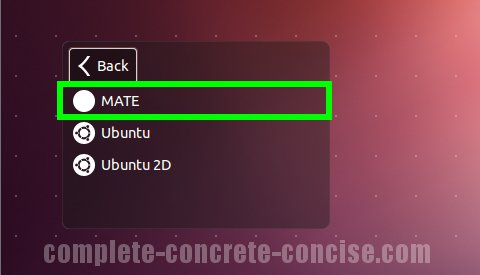
2) Select MATE:
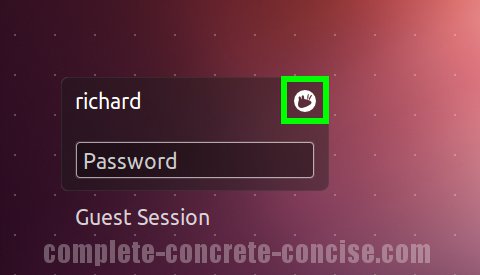
3) Login:
Notice the icon in the upper right hand corner has changed to a blank circle. Some, not all, desktop environments will present an icon there.
If an icon is present, this provides a quick way to see which desktop environment you are logging into.
After following above instructions, ubuntu 12.04 still restarts in unity, with no option to select mate. Is there another way, as the above (login box) does not appear.
Do you mean that when you boot Ubuntu, you go directly to the desktop instead of a login screen?
If that is the case, then you need to enable the login screen.
(1) Enter
System Settingsinto the Dash search field (or click on the System Setting sicon in your Unity launcher)(2) Click on
User Accounts(should be in the bottom right corner)(3) In the top right corner of the dialog there will be a padlock icon with the word
unlockorlockwritten beside it.If it says
Lockthen it is fine.If it says
Unlockthen click on it. You will be asked to enter your password.(4) Click on your user account (there is probably only one – yours).
(5) Locate the field in the righthand side pane that says
Automatic Login. Slide the bar tooff.(6) Restart your system and you should get the login screen.