These instructions are for installing the GNOME Session Fallback in Ubuntu 12.04 running the Unity Desktop.
Installation instructions may be the same or similar for other versions of Ubuntu or for other Linux distros, but no guarantee is made.
GNOME Session Fallback is the absolute minimum GNOME desktop you can install.
A slightly larger alternative (which includes the GNOME 3 desktop) is GNOME Shell. Installation instructions can be found here.
The largest GNOME installation is the GNOME Desktop Environment. In addition to installing a desktop it also install numerous applications. Installation instructions can be found here.
An article listing alternative desktops for Ubuntu 12.04 can be found here.
If you are changing desktops because you are totally lost / confused by Unity, I suggest reading this tutorial and giving Unity a chance.
Of course, if you really hate Unity, then GNOME Shell is an alternative desktop.
GNOME Shell will install 34.8MB of files and data to your hard disk.
Some images may be clicked for full sized versions.
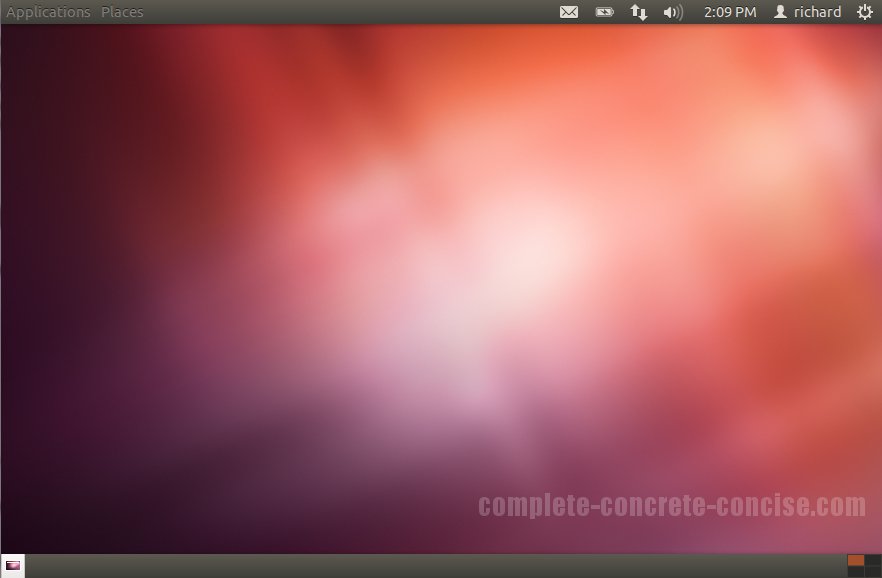
What it Looks Like
The basic, straight-out-of-the-box, look of the desktop is:
From the Command Line
If you are comfortable with Linux and know how to use the command line and apt-get then the command is:
sudo apt-get install gnome-session-fallbackDetailed instructions for accessing a command line can be found here.
Afterward, you need to restart your system.
From the Ubuntu Software Center
Some images may be clicked for full sized versions.
1) Launch the Ubuntu Software Center by clicking the icon on the Launcher:

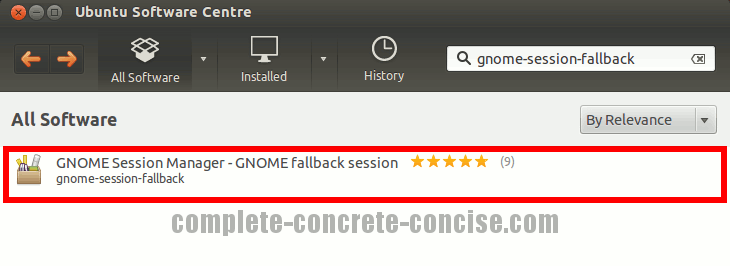
2) Enter gnome-session-fallback into the search field. This will bring up related entries.

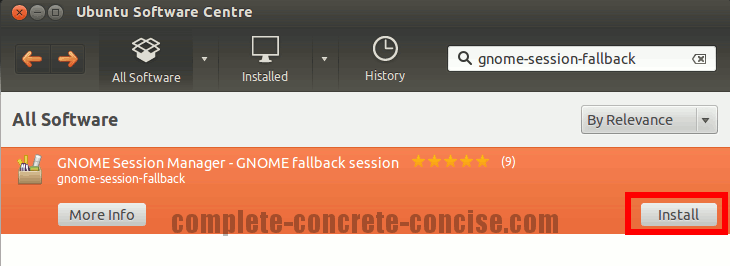
3) Click on the entry GNOME Session Manager – GNOME fallback session – this will highlight it in orange:
4) Click on Install:
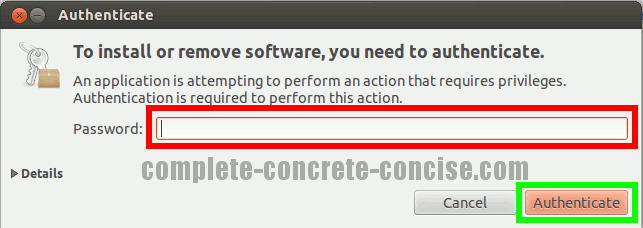
5) Enter your password and click Authenticate:
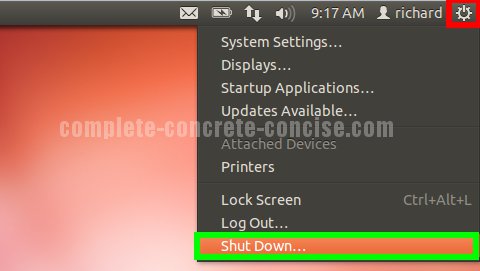
6) After installation is finished, click on the System icon in the upper right corner of the desktop and select Shut Down… from the drop down menu:
Note: it may be enough to just log out and log back in using the new desktop, but it doesn’t hurt to restart either.
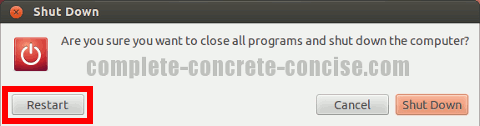
7) Click on Restart:
Selecting the Desktop
After the system has restarted, it is necessary to select the new desktop from the login screen.
It is only necessary to select the desktop the first time after installation. Ubuntu will remember your your desktop for future logins.
You can even install multiple desktops and switch between them.
8) Click the icon in the top right of the Login box:
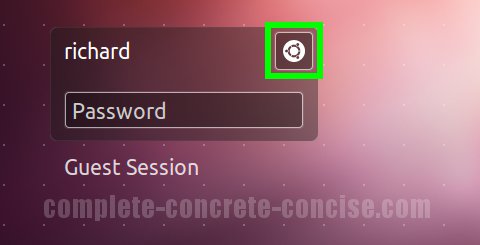
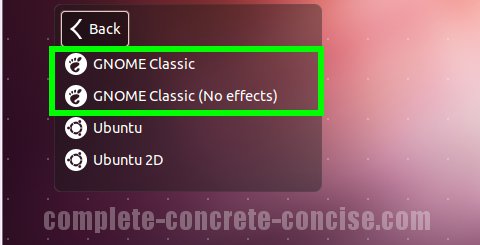
9) Select either GNOME Classic or GNOME Classic (No effects):
10) Login:
Notice the icon in the upper right hand corner has changed to a different icon. Some, not all, desktop environments will present an icon there.
This provides a quick way to know which desktop environment you are logging into.
